
Everything You Need to Know About Night Street Photography
Winter is probably my favourite time of year to shoot. The sun sets early and the nights are long, which means there’s more time to do street photography after dark.
Settings (and Why They Matter Less Than You Think)
Before heading out, it helps to have your settings in check. I always shoot in RAW rather than JPEG. I get the appeal of film simulations and recipes, but JPEGs are compressed, which means less dynamic range and less flexibility in post. At night especially, that extra dynamic range makes a big difference. You’re often working with extreme highlights and deep shadows, and RAW files give you far more room to work with when editing.
Don’t be afraid of high ISO either. A lot of my photos are shot between ISO 6400–16000. These days, digital noise is fairly easy to clean up, and I’d much rather have a noisy image than a blurry one. Modern cameras handle high ISO far better than most people give them credit for.
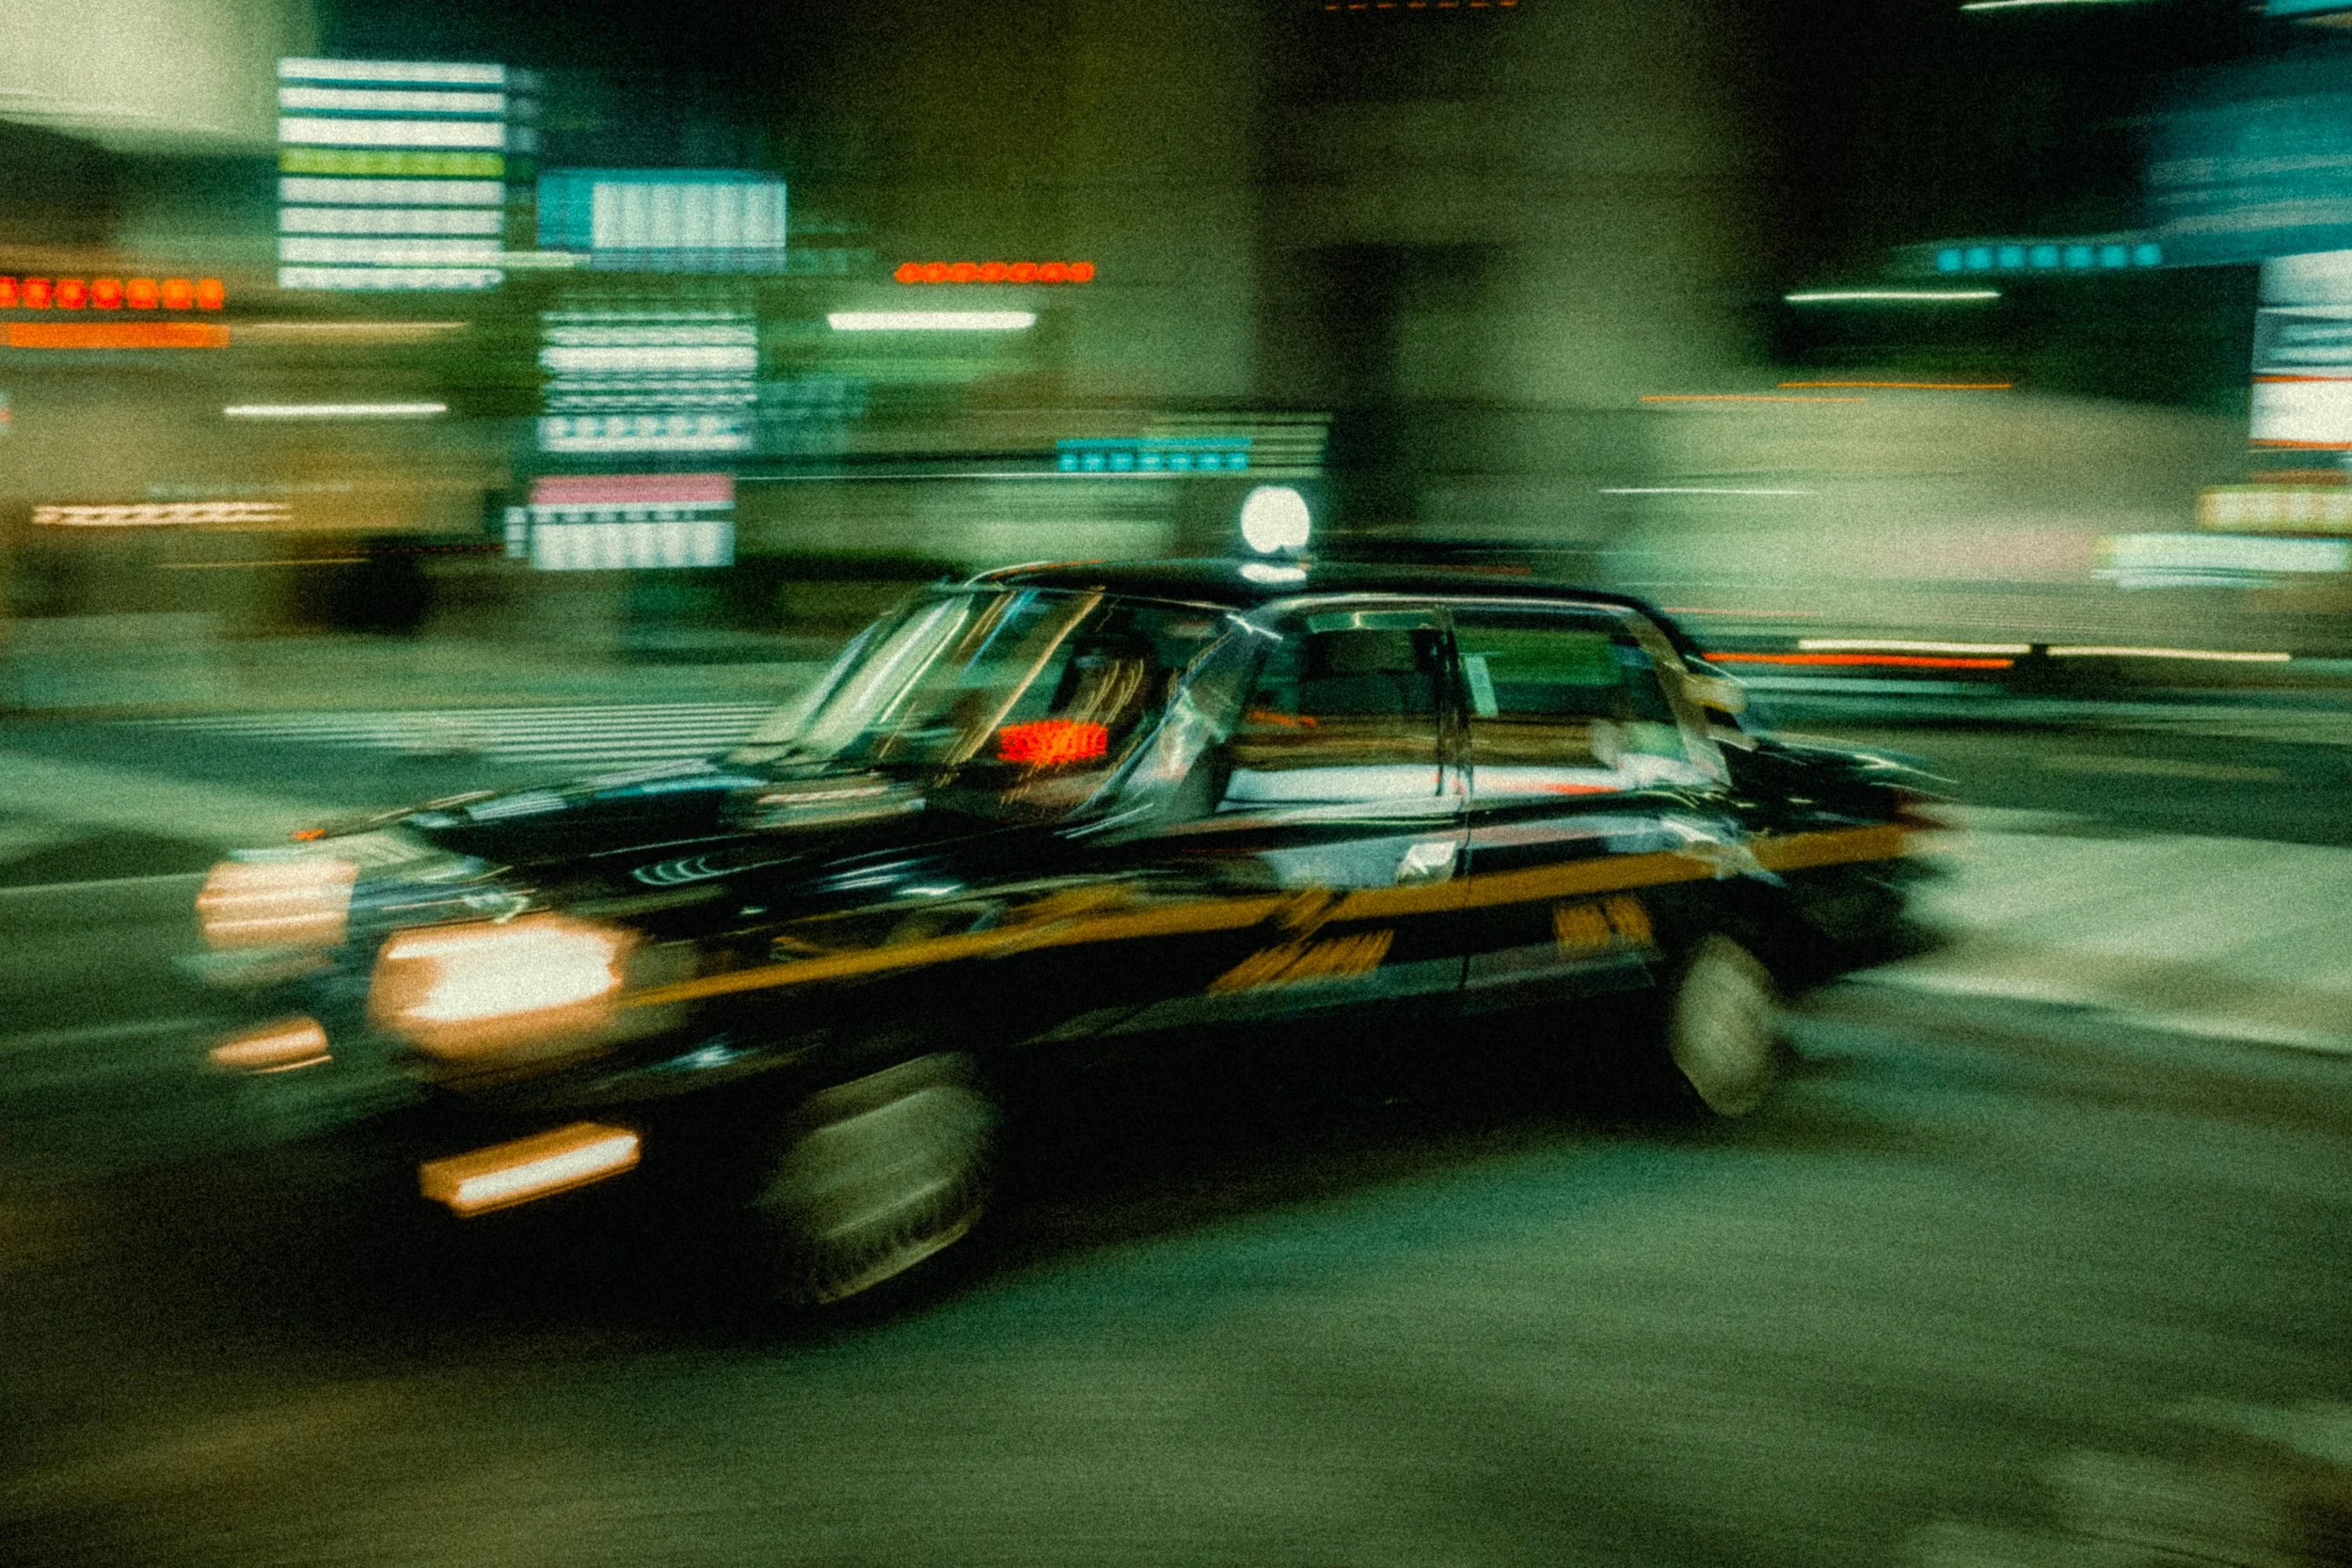
In terms of shutter speed, I usually start around 1/60. That’s fast enough to freeze most movement, but slow enough to let light in.
You can also get creative by using slower shutter speeds. Dropping down to 1/30 or 1/15 can introduce movement and motion blur, which often works really well at night.
Lenses & Gear
When it comes to lenses, the aim is simply to get as much light onto the sensor as possible. The easiest way to do that is to use the fastest lens you own and shoot wide open.
That said, you don’t need an expensive prime lens to shoot at night. Some of my favourite night photos were taken at f/2.8 or slower, so don’t feel limited by the gear you have.
Finding Light
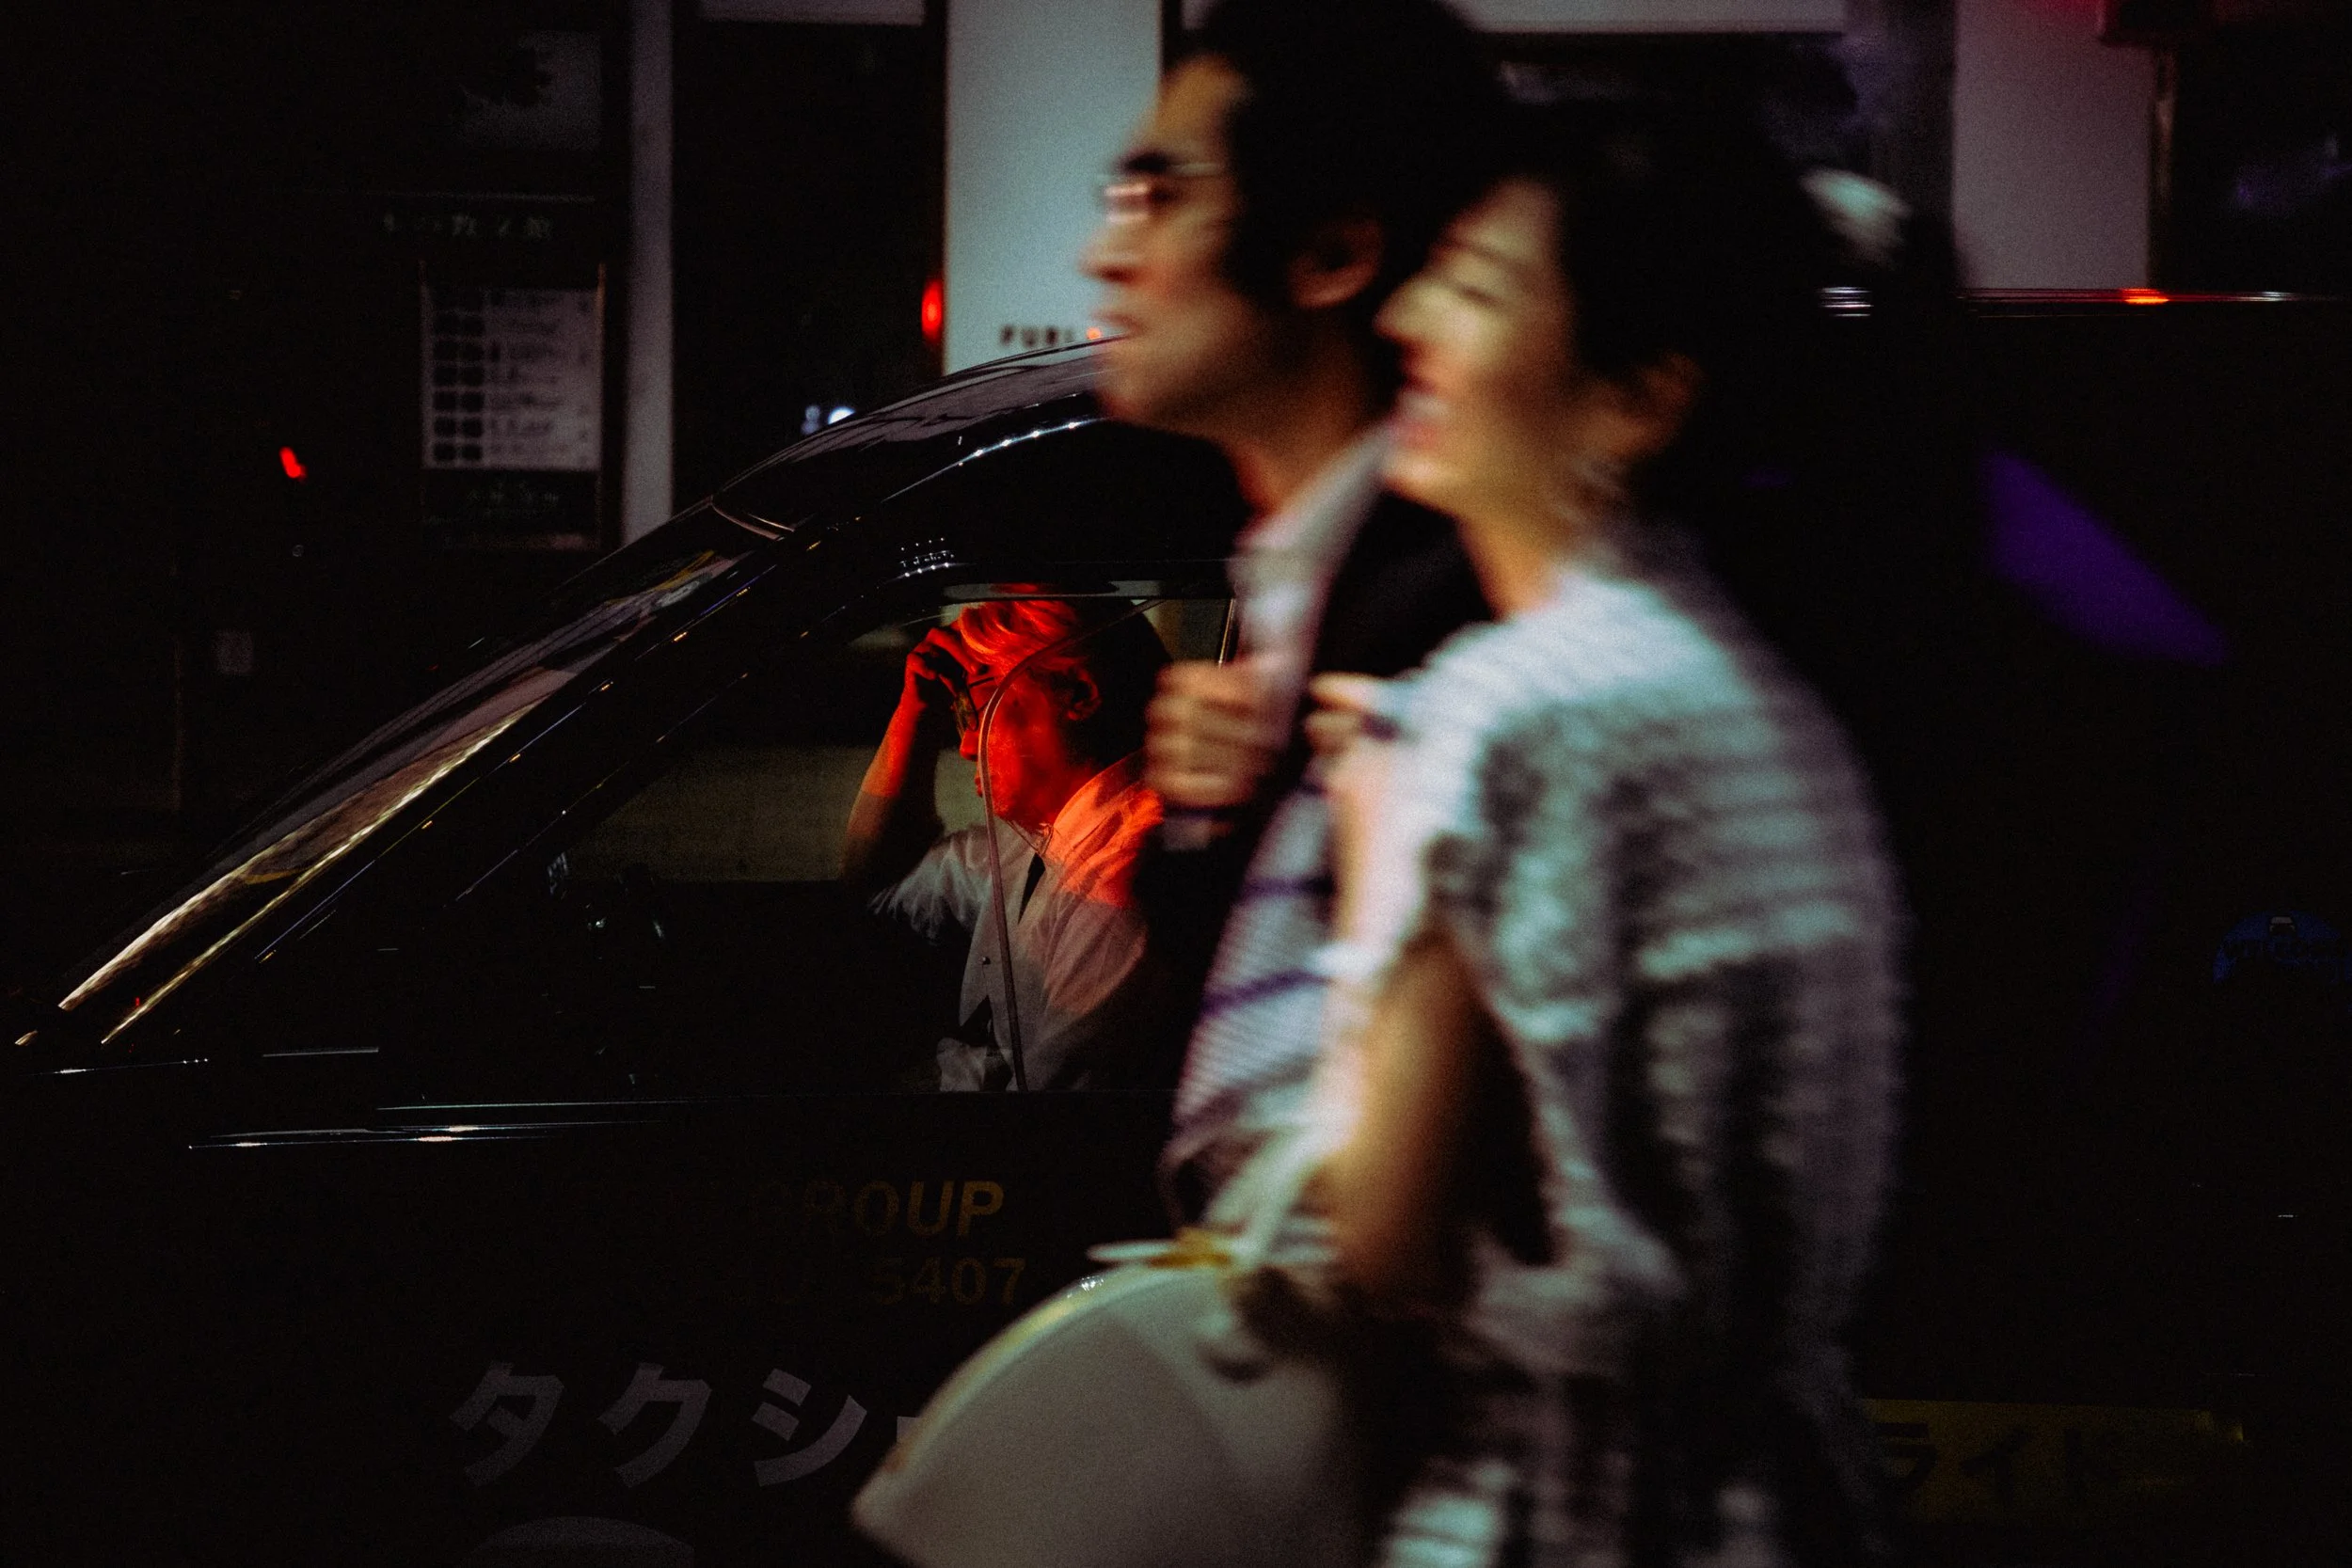
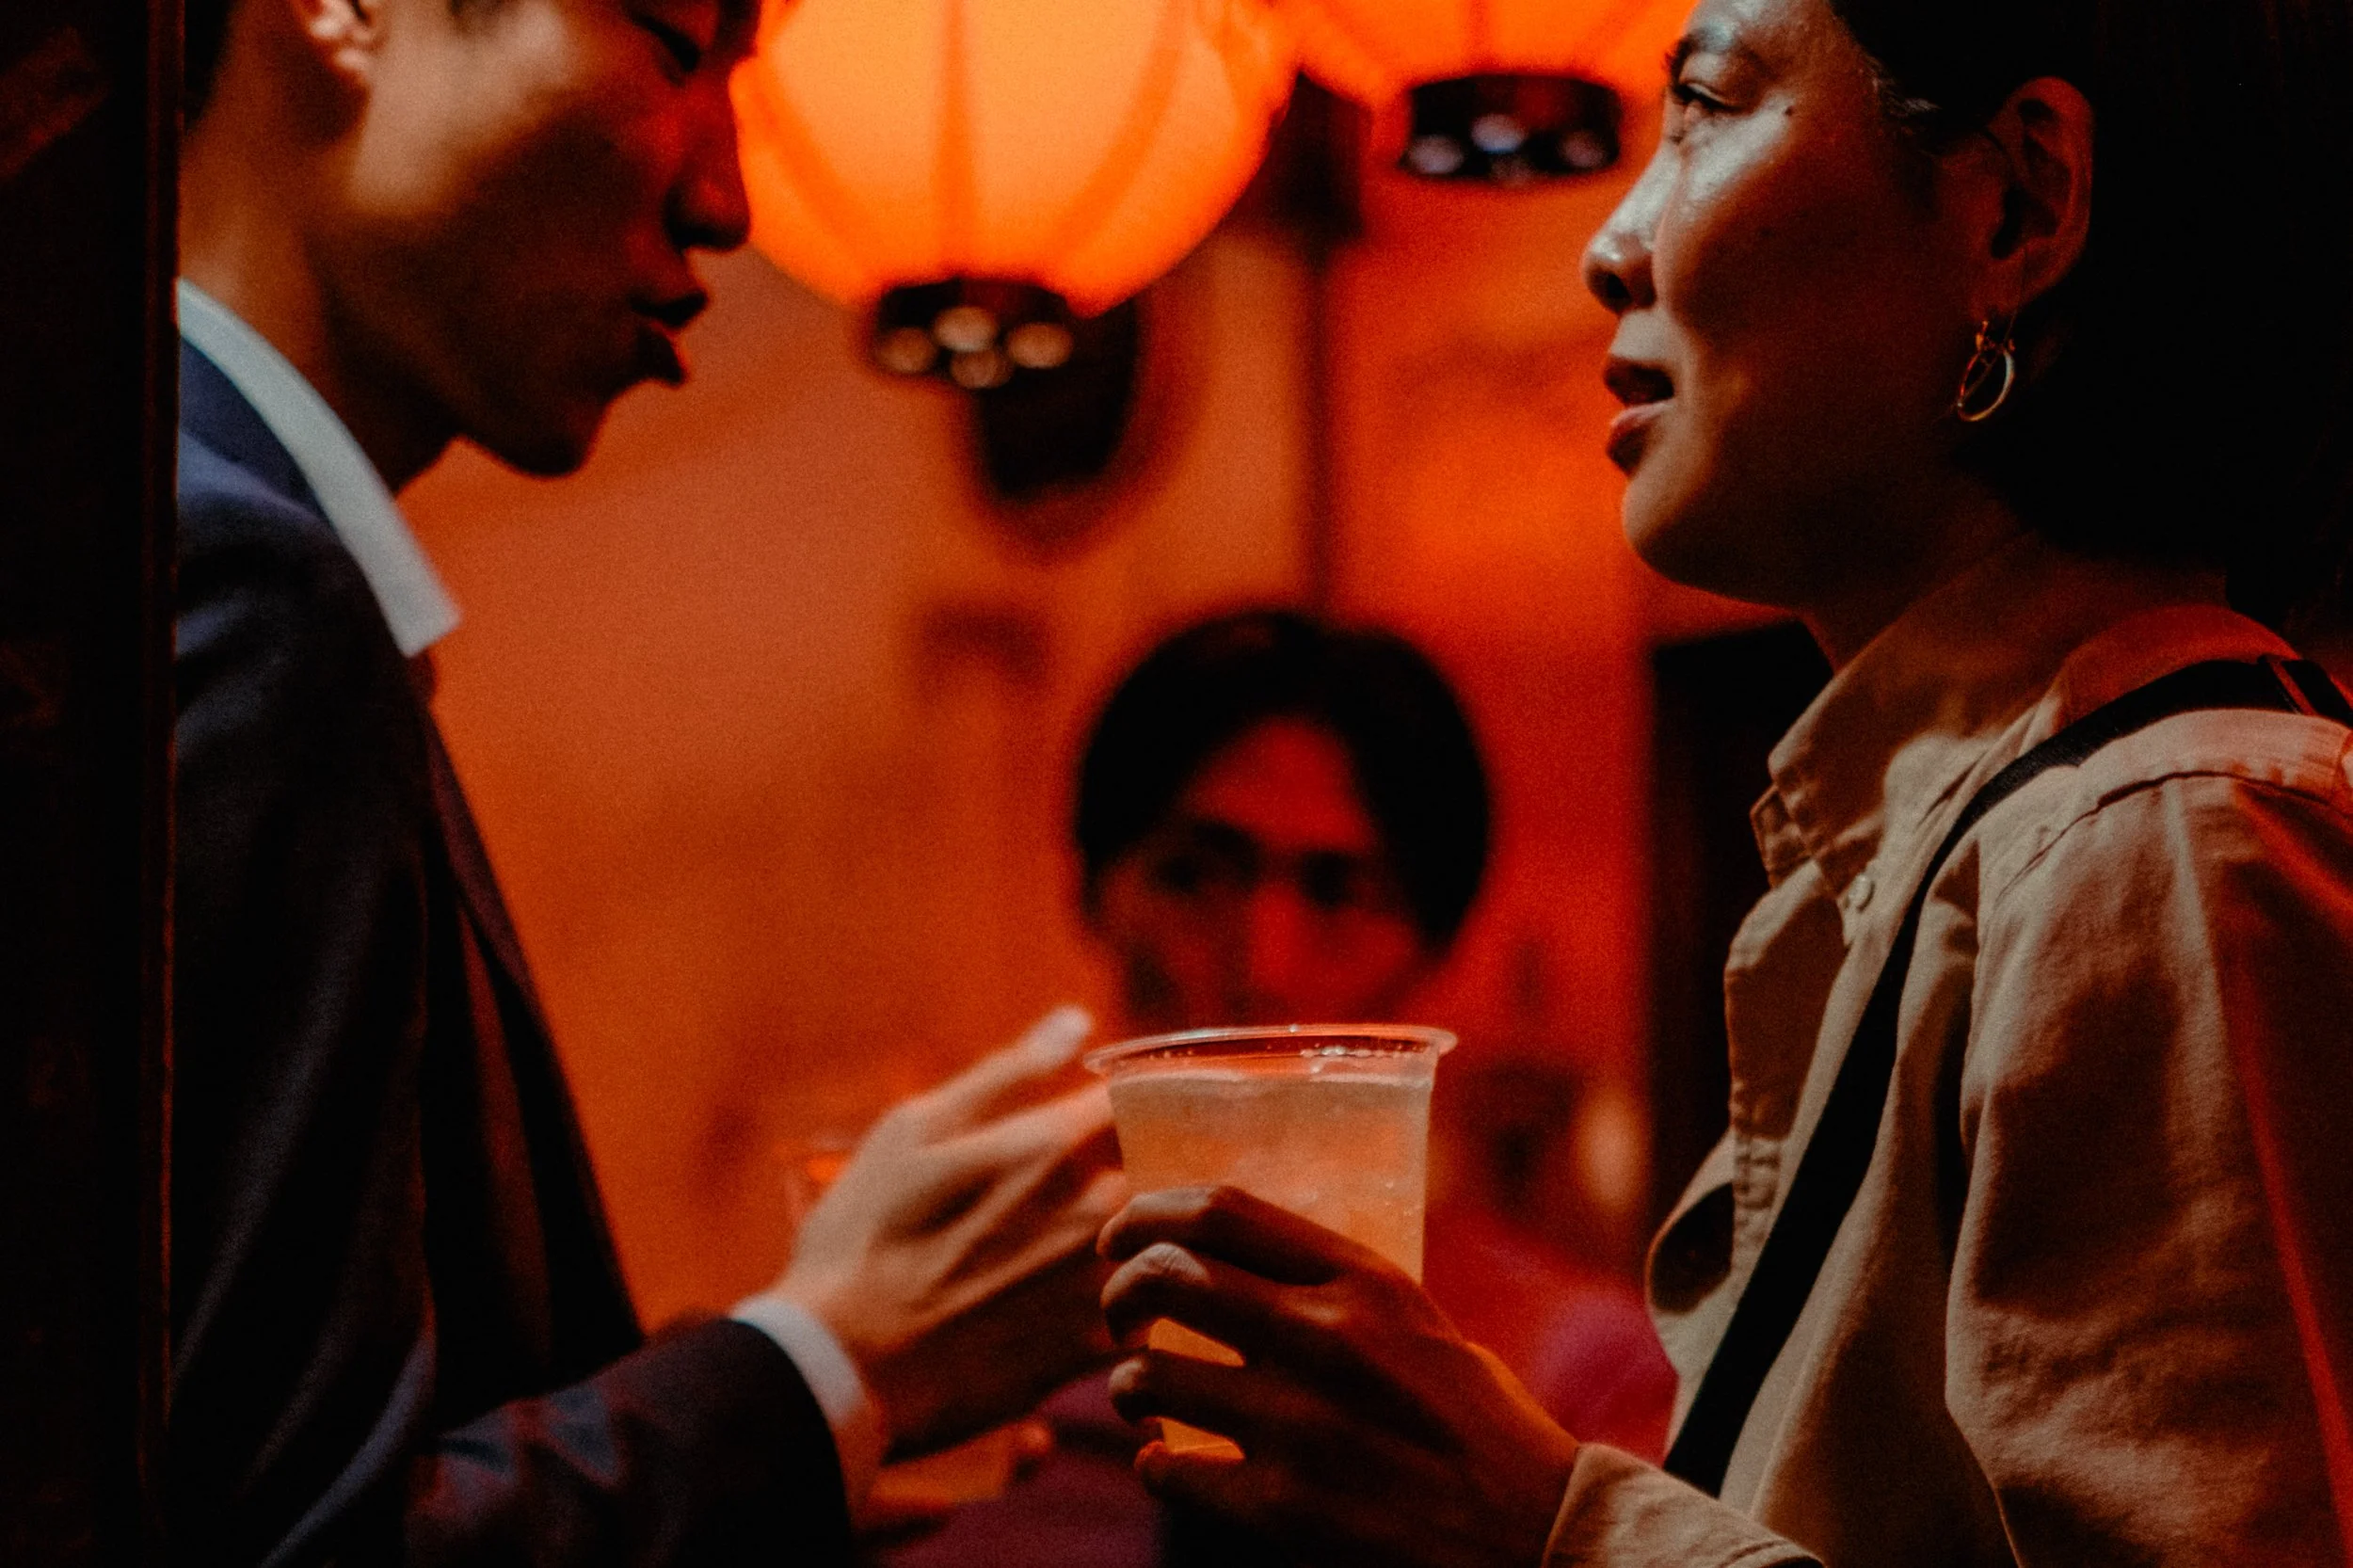
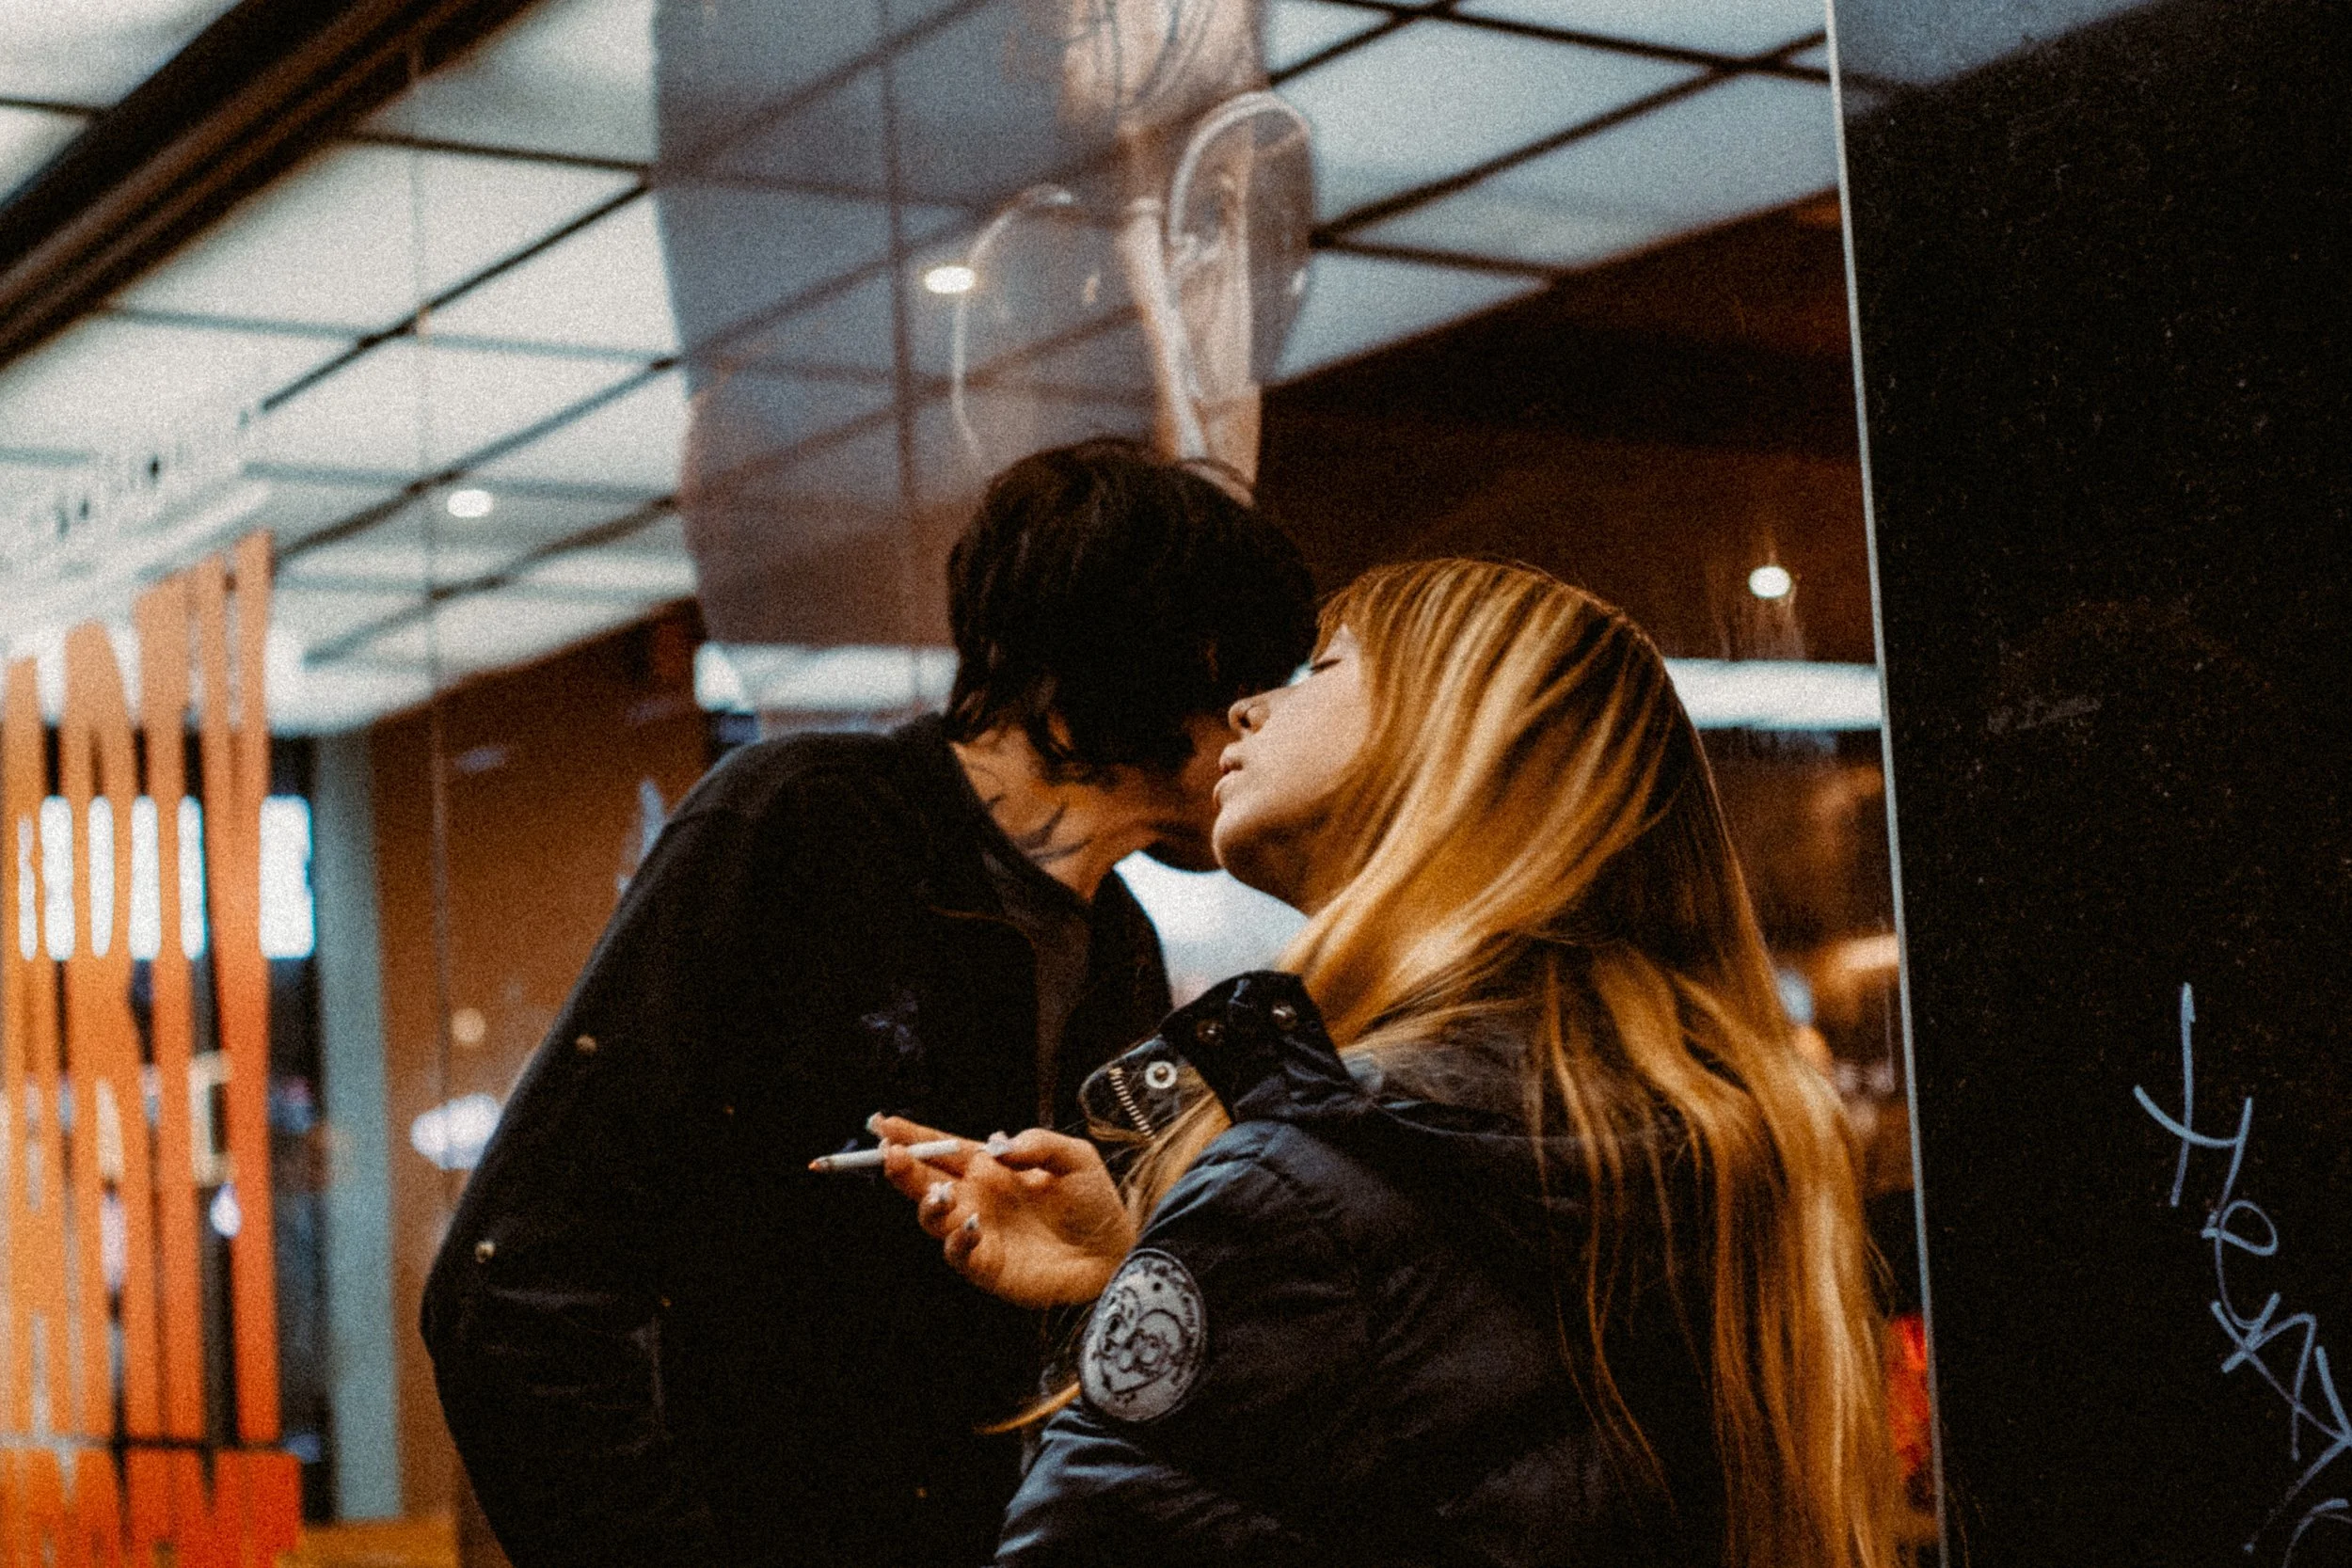
During the day, light is everywhere. At night, you have to actively seek it out. Most of what you’re working with is artificial light, so when you find a good source, it’s usually worth staying there and working the scene.
Examples of interesting light at night can be:
a street lamp
light spilling out of a shop
reflections in windows
headlights or brake lights
old neon signs

Shooting on the Street at Night
When you’re out shooting, try to protect the highlights. Digital sensors are very good at pulling detail out of shadows, but once highlights are blown, they’re much harder to recover.
Where you stand in relation to the light makes a huge difference:
Light behind your subject gives silhouettes
Light from the side adds shape and depth
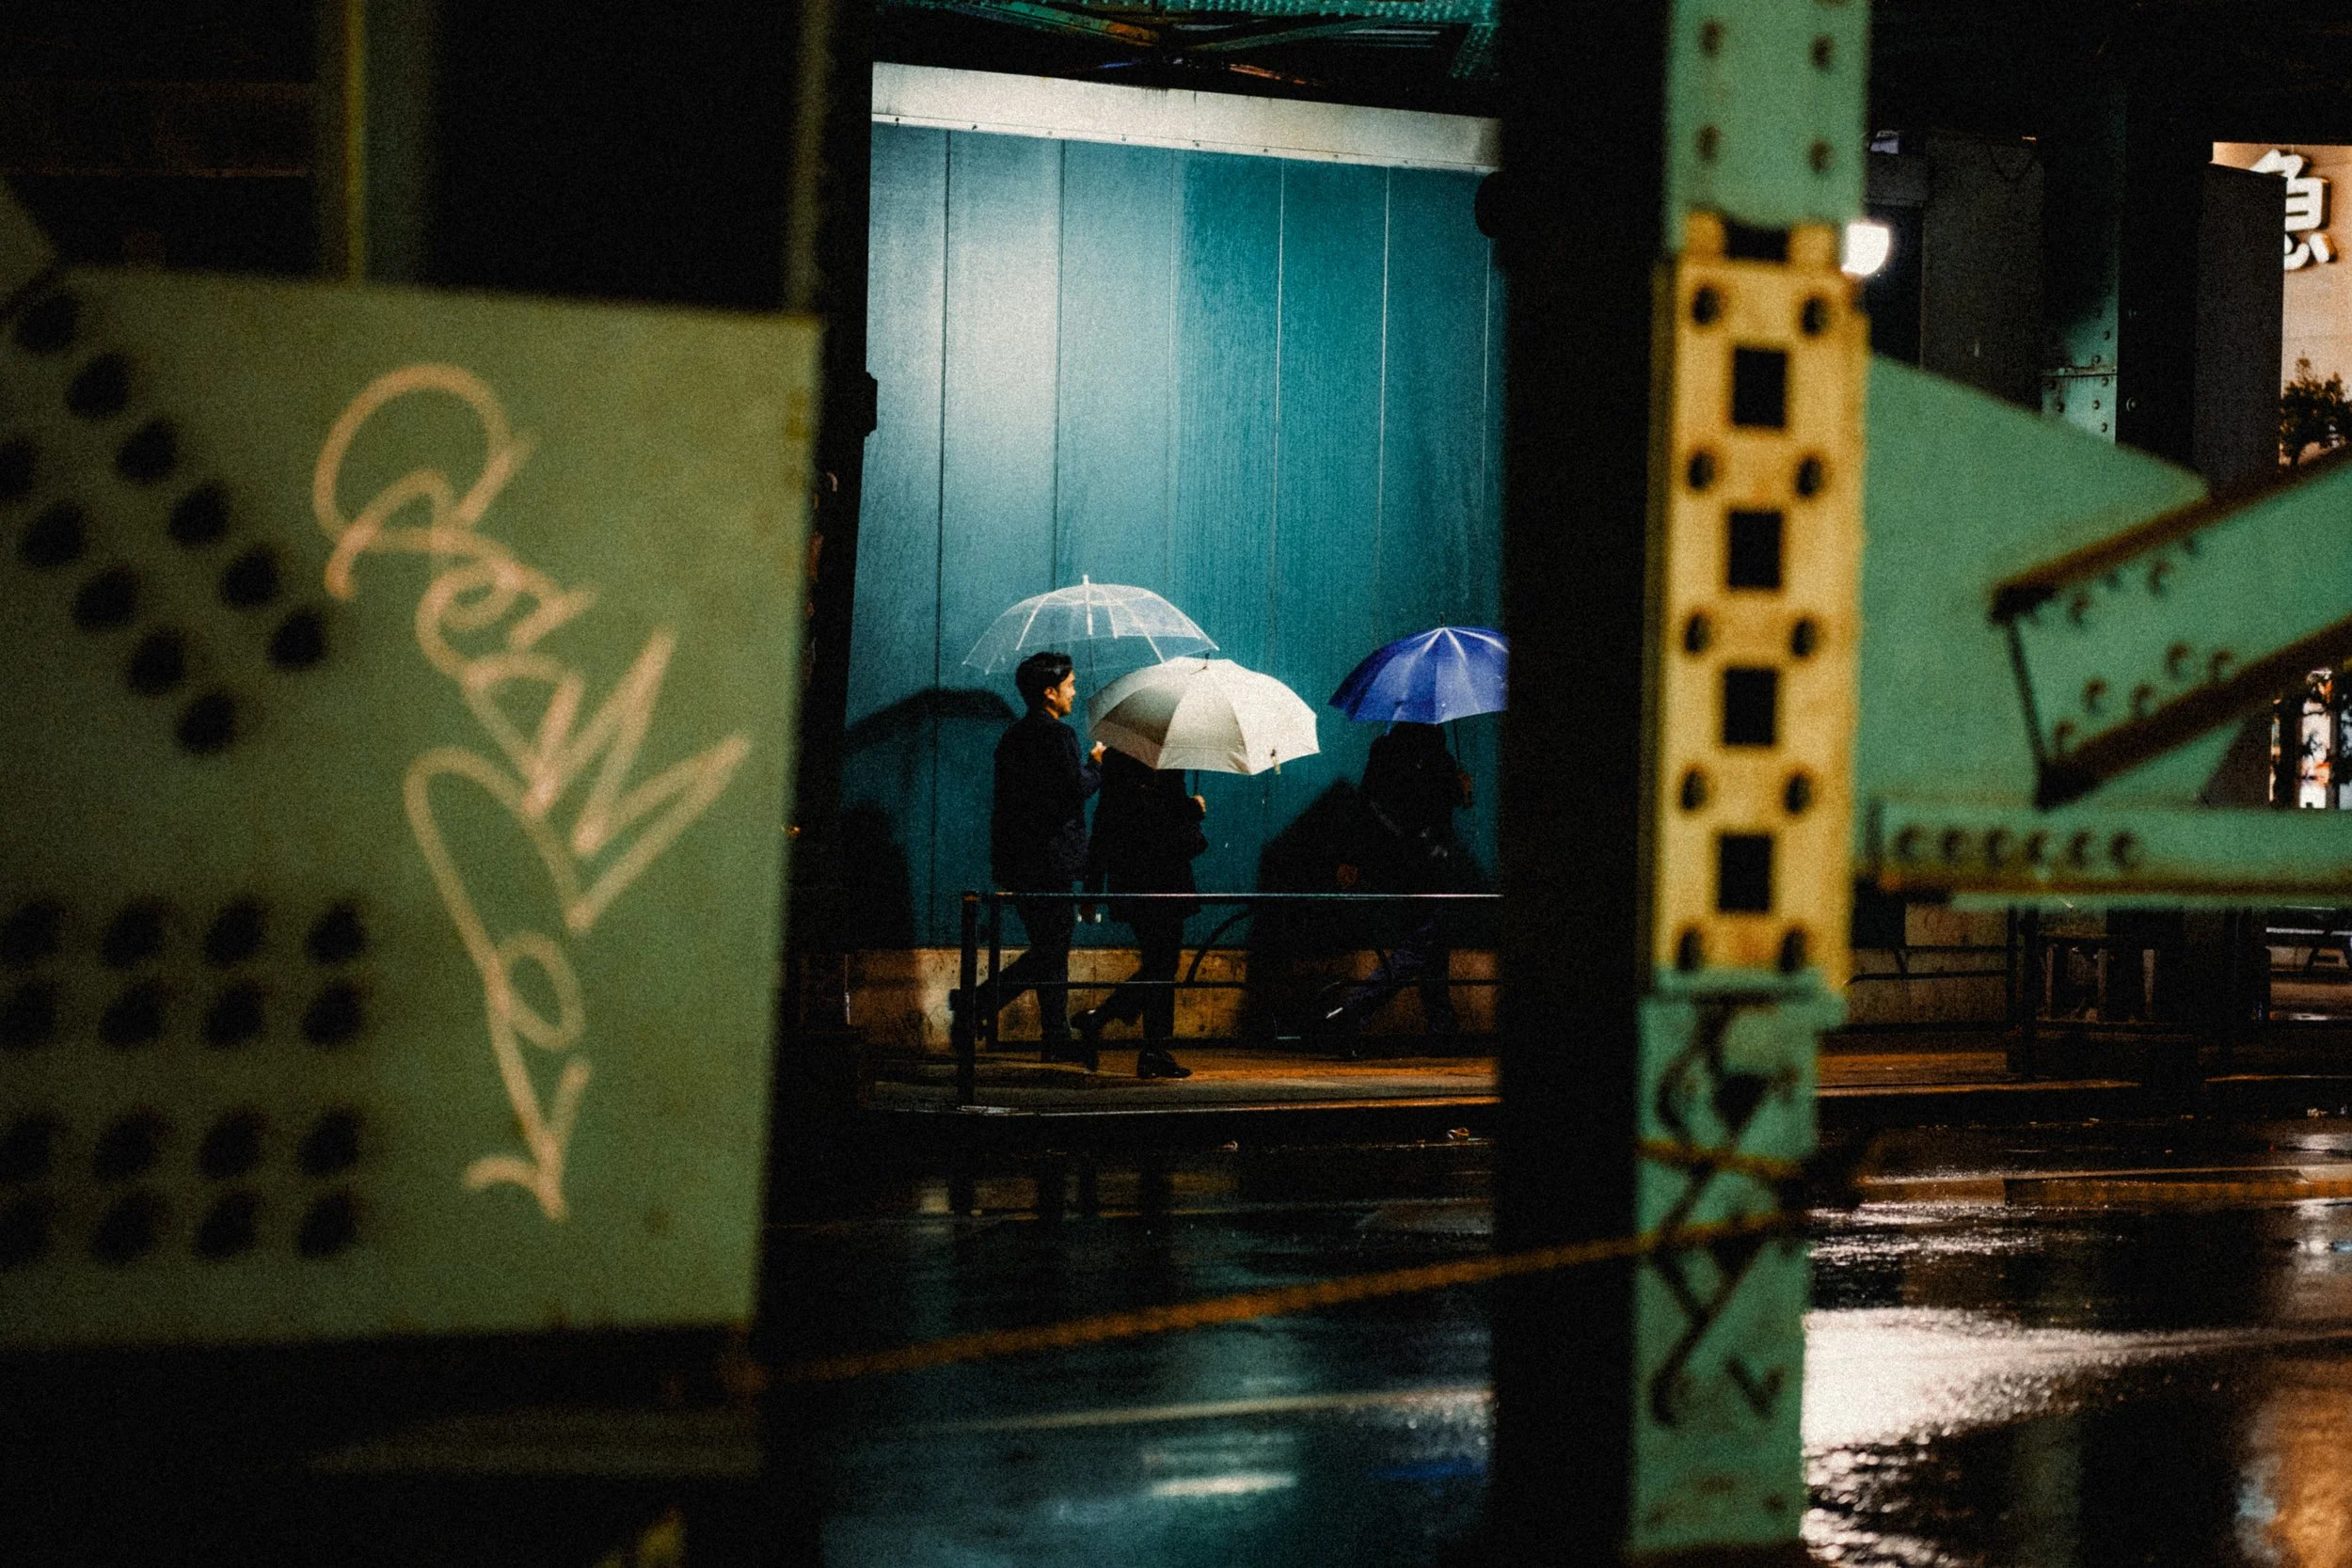
Bad weather helps too. Rain in particular adds atmosphere and makes scenes brighter as light reflects off the ground.
Final Thoughts
Night photography can be a lot of fun, but safety always comes first. No photo is worth risking your camera or your personal safety. I usually carry a small bag so I can quickly put the camera away if I feel uncomfortable.
I also try to avoid wearing earphones. At night, being aware of your surroundings is far more important.
I’ve also posted a video on YouTube where I go into this topic in a bit more detail, which you can find below.